
The Rubel Miah Blog
-
How to Install PHPCS and WPCS on Mac
Install PHPCS To install PHPCS, use the following command: This installs the PHPCS package globally on your system. Install WPCS Once PHPCS is installed, you can install the WordPress Coding…
-
How to Create a WordPress Website Locally with Valet on Mac
Install Homebrew Go to brew.sh copy the command and run it in your terminal It will be something like this. Then update brew. If the brew command is not found,…
-

10+ Best Gutenberg Blocks Plugins
Gutenberg, the default editor for WordPress, has revolutionized the way we create content. With its intuitive drag-and-drop interface and vast library of blocks, Gutenberg empowers users of all skill levels…
-
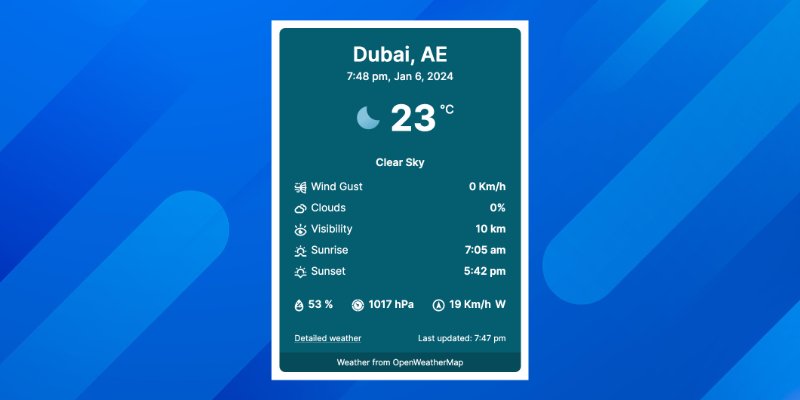
Best WordPress Weather Plugins in 2024
Are you looking to infuse your WordPress website with real-time weather updates and forecasts? Look no further! In this post, we’ll explore some outstanding WordPress weather plugins that can seamlessly…
-
How to Fix Missing ‘System Settings’ or ‘Settings’ in Ubuntu 20.04 LTS
Step 1: Right-click on the Desktop and Click ‘Open terminal‘. You can also open Terminal by pressing the Alt+Ctrl+t key on the keyboard. Step 2: To install System Settings, type…
-

How to Display WordPress Post View Count without a Plugin
WordPress plugins can add powerful features to your website, but sometimes, you may prefer a more lightweight approach, especially when it comes to displaying post view counts. In this guide,…
-
Adding Custom URL Field to Product Categories in WordPress
If you want to enrich your WordPress product categories with custom URLs, follow these steps to seamlessly integrate a custom URL field on both the ‘Add New Term’ and ‘Edit…
-
How to Import Database in MySQL using Terminal
When it comes to handling large or very large SQL files, a seamless method to import them into your MySQL database is through the terminal. This approach is particularly efficient…
-

How to Install DWA-131 WiFi driver on Linux (Elementary)
To Install the DWA-131 WiFi driver on Linux, follow these steps in a terminal. Please note that an active internet connection is required during this process: After completing these steps,…
-

How to Enqueue Google Fonts on WordPress Theme
Are you looking to enhance the visual appeal of your WordPress theme by incorporating custom Google Fonts? The process is simpler than you might think. In this guide, we’ll walk…