
The Rubel Miah Blog
-
How to Remove .DS_Store on Mac
If you’re a Mac user, you may have come across those pesky .DS_Store files scattered throughout your folders. While harmless, these files can be a bit of an eyesore, especially…
-
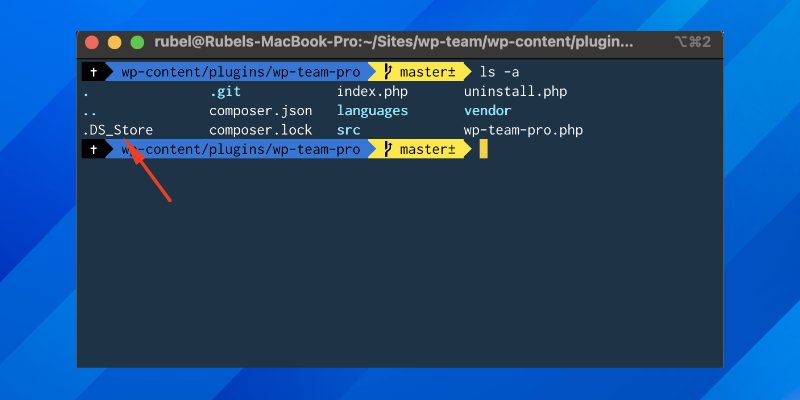
How to Plugin Uploads/Updates on WordPress.org Using the Terminal
Uploading or updating your WordPress plugin on WordPress.org via the terminal can be a straightforward process when you follow these steps: Note that the SVN URL for plugins generally follows…
-
Custom Post Pagination not Working
If you’re encountering issues with custom post pagination, here are some suggestions to enhance your implementation. Custom Post Query: Ensure your custom post query is correctly set up for the…
-
How to Show Total Downloads in Easy Digital Downloads (EDD)
Follow these simple instructions to show the total downloads in Easy Digital Downloads (EDD): Open your theme’s/child theme’s functions.php file and insert the following code: Once you’ve added the code…